


Please contact us!
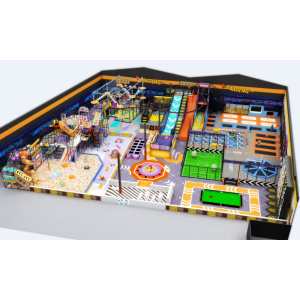
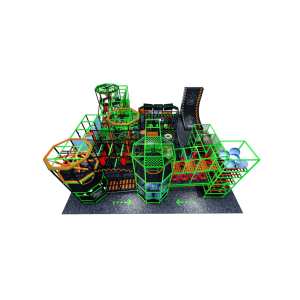
DIY indoor playground for sale
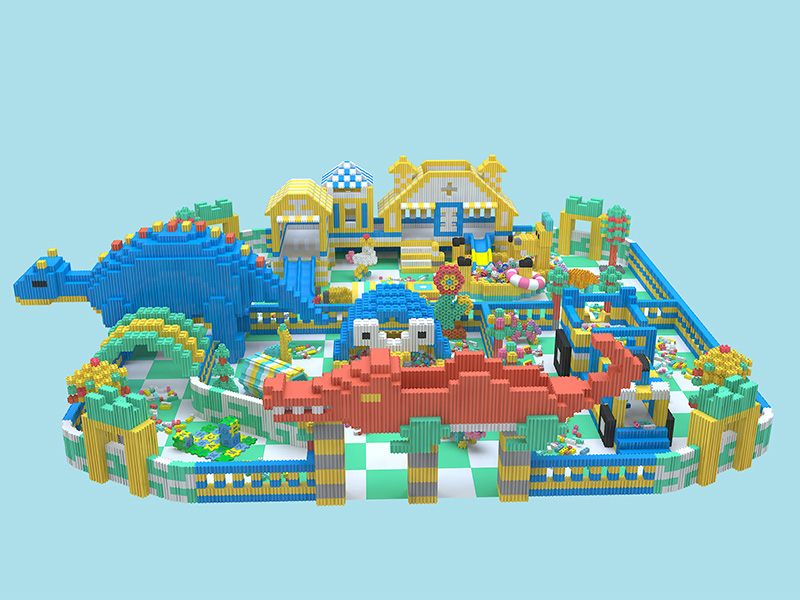
Categories:Indoor Playground Supplier Factory: Family Entertainment Centers
Size(CM):
Price:$0USD
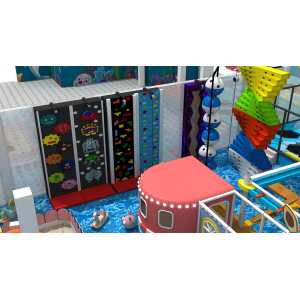
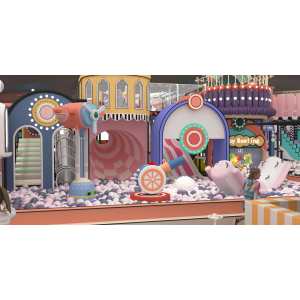
Play Events
How to Build a DIY Playground? It won't be hard to coax your children into the backyard once you've built a DIY playground out there.
Desription
It won't be hard to coax your children into the backyard once you've built a DIY playground out there.
Starting with a central climbing structure and adding components like a ladder, rock wall, slide, and swing, this playground will appeal to kids of all ages. Young children can safely play in the lower sandbox, while their older siblings or friends climb, swing, and zipline from the upper level.

DIY Citrus and Herb Sprays for a Cleaner Green Home
Best of all, this playground is entirely flexible. You can build the central two-level climbing structure in about a week. Scale it up whenever you like by adding on new playground features.
Main DIY Playground Features
Central Climbing Structure: The heart of the DIY playground is the four-post, two-level central climbing structure. Here, kids can scamper up a ladder to the upper level or they can play below. It's a sturdy hub for all other features.
Ladder: A short ladder that you easily build from scratch brings kids from the ground level to the upper level.
Rock Climbing Wall: Kids can hone their rock-climbing skills with this short rock wall that's tilted slightly for safety. Molded rock holds purchased separately screw easily onto the rock wall base.
Sandbox: Two-by-ten skirt boards at the base of the climbing structure provide extra stability. They're also built-in walls for a sandbox. Just add sand and you're ready to go.
Slide: The central structure is a perfect place to attach a plastic slide.
Swing: Purchase or make a swing, with one end of the upper bar attached to the central climbing structure and the other end elevated on its own stand.
Extra Fun Features: Purchase or make flags, a ship's wheel or steering wheel, telescope, or zip line and add to the upper level of the playground.
Cost of a DIY Playground
Building your own DIY playground will be considerably cheaper than building a premade playground system.
Expect to pay $3,500 to $5,000 for a premade playground with a similar raised upper level, including a sandbox, picnic table, two-person swing, and an enclosed clubhouse on top.
At the lower end of the premade price range, a small two-level playground more appropriate for preschoolers, with an enclosed playhouse, staircase, and ladder, runs around $750 to $1,000.
This project's DIY playhouse will cost between $800 to $1,500. The central climbing structure, ladder, and sandbox alone will cost in the lower range of this estimate. The main price drivers are extra features that you purchase, such as the slide, swing, or zipline.
Permits and Codes
Municipalities have different approaches to permitting for backyard play structures. Some communities allow one- or two-story structures, such as playground sets, under certain size and height limits. Sizes may range from 120 to 200 square feet. Maximum height limits may range up to 12 feet. Check with your local permitting office for guidance, and check any HOA regulations, if applicable.
Safety Considerations
Observe all safety precautions for working with power tools. Take care when working on the playground's upper level.
What You'll Need
Equipment / Tools
Cordless drill
Electric miter saw
Circular saw
Stakes and twine
Bubble level
Post-hole digger
Flat shovel
Garden hose and water source
Tape measure
Materials
Building Materials
Quick-set concrete
Gravel
4 four-by-fours, each 16-foot, pressure-treated
Scrap two-by-fours, pressure-treated
13 two-by-tens, 8-foot, pressure-treated
10 joist hangers
20 5-1/4 inch by 8-foot composite wood deck boards
34 two-by-fours, pressure-treated
2 door hinges
Playground Items
Rock holds
Climbing rope
Playbox sand
Slide
Instructions
<span class="mntl-sc-block-subheading__text"
This playground's footprint is 64 square feet: 8 feet on each side. The upper level is 5 feet above ground level, or as high as you need to accommodate a slide.
Find a suitable location for the playground that's close to the house, dry, and with stable ground that you can dig into. Provide a 16-foot buffer zone around the playground. No obstructions such as bushes, rocks, trees, or the house should be in the buffer zone. Do not locate the playhouse under trees with low-hanging limbs.
Lay Out Posts
Stake out the four post locations in a square, using the twine and stakes. To make sure that it is truly square, measure the two opposing diagonals. If the measurements match, the layout is a true square.
Before digging, call your local utility location service to identify the location of electrical wires, pipes, and other vital services.
Remove Turf and Grade
If applicable, remove the turf with the flat shovel and level the surface down to bare dirt. Grade the surface until it is level. Check level by placing the bubble level on a two-by-four in different directions on the ground.
Dig Post Holes
With the post hole digger, dig four post holes to below the frost line, plus another 4 inches to account for the gravel base. The width of each post hole should be at least two times the diameter of the post, or about 8 inches wide.
Add Gravel
Pour gravel into the bottoms of the post holes. Measure out about 4 inches of gravel per hole.
Plumb and Set Posts
Set the four-by-fours in the post holes. Support each post individually with scrap two-by-fours set up as braces. Screw one end of the two-by-four to the four-by-four. Stake the other end into the ground.
Add concrete at this point to help stabilize the posts. The concrete should be added dry and brought to about 3 inches below ground level. Use the bubble level to get each post perfectly plumb.
Attach Horizontal Bracing
Attach four of the two-by-tens in a square around the outside of the four-by-four posts. Attach them at the 5-foot-high mark (or your desired upper-level floor height).
Set Posts in Concrete
With the garden hose, slowly fill each post hole with water, letting the water percolate through the dry concrete mix until full. Allow a day for the concrete to fully cure.
Add Sandbox Walls
Similar to the upper horizontal bracing, attach four two-by-tens at ground level to form the walls of the sandbox.
Add Joists
Install ten joist hangers, five on each side of the upper level bracing. Space them 16 inches apart. Insert five of the two-by-tens into the hangers. Secure the joists into the hangers with nails designed for use with joist hangers.
Install Flooring
Install the composite wood flooring on top of the joists, spacing each board by 1/8 inch.
Build Ladder
Cut two of the two-by-fours to 5 feet long. Cut the scrap wood into two 2-foot pieces and use another, fresh two-by-four to cut two more pieces. Screw the pieces together to make a four-rung ladder. Screw the ladder into the upper level bracing and the lower sandbox wall.
Build Rock Wall
Cut two of the two-by-fours to 6 feet long. Cut nine of the two-by-fours in half. Run the resulting 18 pieces of wood across the 6-foot-long pieces to form a ladder-like structure. Space the rungs 1/4-inch apart. Screw the two hinges to the back of the rock wall, at the top. Screw the other side of the hinges to the upper level bracing. Screw rock holds across the rungs in a random fashion.
Build or Add Slide
Screw the slide to the upper level bracing, so that the lip of the slide is flush with the top of the deck.
Build Balusters / Handrail
Use 20 full-size two-by-fours to form the horizontal balusters around the upper level of the playground. You will use five two-by-fours per side, spacing them 8 inches from each other, culminating at a top handrail that is 48 inches high. Create cut-out spaces for the ladder, slide, and any other feature attached to the upper level.
Add Swing
Attach a swing to the side of the DIY playground. You can use a purchased swing set, eliminating one of the side legs. The side of the playground would replace the leg. Or you can build your own swing set from pressure-treated ground contact lumber, again eliminating one of the legs in favor of the playground as a type of leg.
Frequently Asked Questions (FAQ) – Indoor Playground Equipment
- What age groups are indoor playgrounds designed for?
Indoor playgrounds can be designed for different age segments:
Toddlers (1–3 years): Soft play areas, ball pits, sensory rooms.
Children (4–12 years): Slides, climbing structures, trampolines, obstacle courses.
Teenagers & Adults: Ninja courses, trampoline parks, adventure zones (optional). - What safety standards do your playgrounds comply with?
All equipment is manufactured according to international safety standards such as:
EN1176 / EN1177 (Europe)
ASTM F1918 (USA)
CE, TUV, SGS certifications
Materials are non-toxic, durable, and tested for impact absorption, flame resistance, and stability. - What is the average cost of an indoor playground?
Costs depend on:
– Size of the playground (sqm or sq ft)
– Selected activities (trampolines, climbing walls, role-play houses, etc.)
– Customization & theme design
A small playground (100–200 m²) may start from USD 30,000–60,000, while larger projects (500–2000 m²) can range from USD 100,000–500,000+. - How long does it take to manufacture and deliver?
Design stage: 7–15 days (depending on complexity).
Production stage: 20–40 days.
Shipping: 15–45 days depending on destination port.
Total project time is usually 2–3 months. - Can I customize the design?
Yes. Every project is custom-designed to fit your space dimensions, theme, budget, and target age group.
Popular themes include: Jungle, Ocean, Space, Candy, Castle, Pirate, Cartoon, Futuristic Neon. - Do you assist with after-sales service?
Yes. Our after-sales support includes:
– 24/7 online technical support
– Free spare parts with orders
– Remote video calls for troubleshooting
– Local partner assistance in some countries
Inquiry
Reviews
Be the first to write a review
Customer Reviews
Be the first to write a review
Review Submitted!
Thank you! Please refresh the page in a few moments to see your review.
